Showing posts with label marble. Show all posts

Wednesday, November 6, 2013

Everything is OK.

This year really is something.
I had all sorts of emotions - the best ones and, sadly, the worst ones. And it seems like every month is giving me a test, which I will pass, I promise. But I still want this year to end. New year - new life, right?
Well anyways, I was not in the mood for the nails, although I love painting them. That is why I felt like doing something easy and pretty. These nails show exactly how I feel inside - bursting with emotions (hot and cold) covered with the dark color of reality. ( Oh, I am so poetic, lol)
So here they are -

They may not be perfect, but I am OK with all those colors underneath the top coat. 
I'm OK with any challenge ahead of me. I am not afraid.

Wednesday, September 26, 2012

Betta Splenden Nail Art.

Hello nail art lovers!
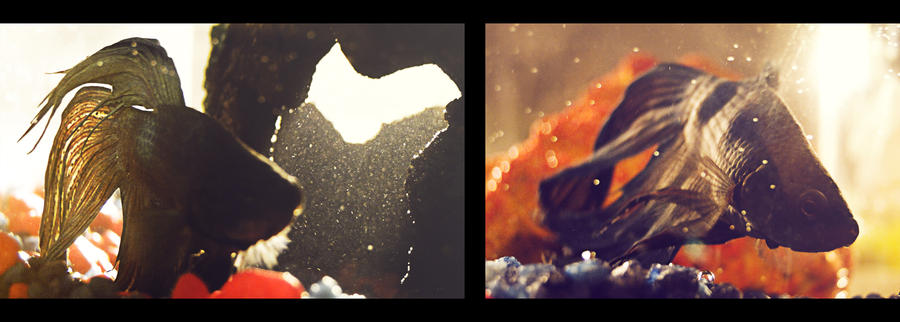
This weeks nail art is a bit different. It's simple, fun and inspired by my new Betta fish - La'gaan.


His name came from the DC character Lagoon Boy who is an amphibious boy from Atlantis.
We brought him home two days ago and I absolutely love his colors! He has a bit of green, red and blue and these are the colors that I've chosen for the nail art.

I've seen a lot of videos about the water marble nails, but I never tried to make something like that. This is my first attempt to make marble nails, and I'd like to share my experience with you:

First of all, here is what you  will need:
(click on the photos to enlarge)

Choose the polishes you want, a cup with water ( I just found that you need warm water for this, but I did it with cold tap water and it worked fine).

Cotton buds, nail polish remover, scotch tape and a toothpick.
I did not use any base coat on this one, but you can apply any base coat you like.

Before making water marbles, cover your fingers around your nails with scotch tape, so the design would apply only on your nail. Otherwise it will be really messy.

Then drip a few drops of the nail polish on the surface of the water one by one. and try to do it fast so the polish would not harden.

Make the design with a toothpick. It's best to drag the color to the center.
(I wanted them to be random so I just pulled in all dirrections)

Then I lined up my nail witj the design that I wanted and dipped it right where the design was.

 Continued doing the same process with the other nails.

It dries real quick, so in about 20 seconds you can easily remove the scotch and remove all the excess polish  with a cotton bud dipped in polish remover.

Cover the nails with a top coat and you are done!


It may look better if the water was warm, not sure.
But I like how they turned out in the end! I think now I'll be practicing marble nail art in the future.
 Hope this was useful for you.
Thank you for reading this weeks post and come back next week for new nail art!